Make Your Own Embroidered Denim

In only a few steps, you can make your own embroidered denim. It’s actually quite easy!
To do this, start with shopping your local thrift store for some denim. Another option is to find an old pair that you don’t wear anymore.
Next, you’ll need to find some fun patches that you want to rock on your denim. I suggest either individually choosing your patches or if you want to be more cost effective you could order a kit containing multiple patches.
Below is a list of my favorite patches:
- Rolling Stone Tongue Patch
- Pineapple Patch
- Desert Plants
- Black & White American Flag
- Bumble Bee’s
- Skull Middle Finger
- Eyeball Patch
- Strawberry Donut
- Ice Cream Cone
- Floral Patches
And here are some full kits of patches if you choose this route:
Once you’ve found a few trendy patches, the final step is to iron them on. The patches listed all have glue on the back of them. So all you have to do is pick the spot on the denim where you want the patch then place a thin pressing cloth over top, and hold the iron on the patch for 20 seconds. After the first 20 seconds are finished, you want to turn the denim inside out and press the iron on the opposite side of the denim for another 15 seconds. Then you’re done! It is that easy.
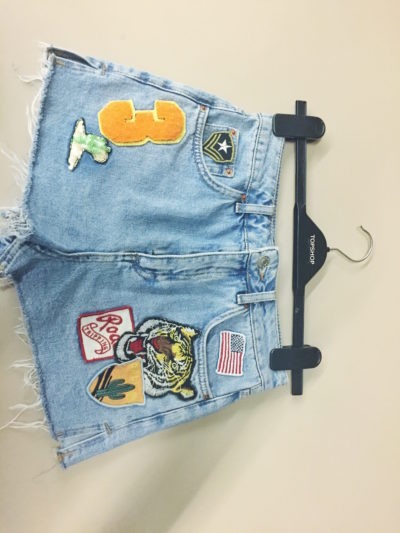
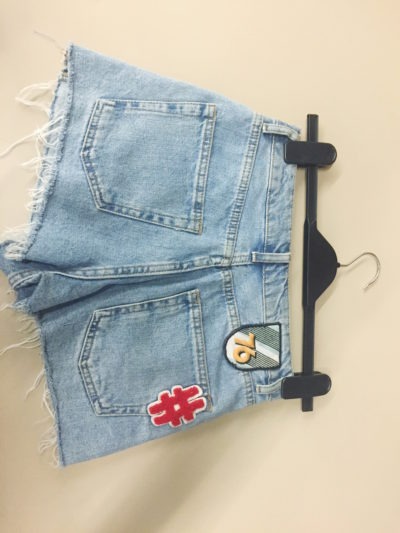
For some more inspiration, check out this close-up example of the Topshop shorts sold at Nordstrom:


